Having both MPD access and the web interface to control your Volumio instance is nice but to me there is one major drawback: you must carry a second device (e.g. mobile phone) with you, always. Even if you just want to change the volume or skip to the next track: you need to fumble around with a separate device. Thus, I extended my original plans for the music box to enhance it with a small touch display. Fortunately, the Raspberry Pi platform provides all you need for a simple yet efficient solution.
Display Selection
There are all kinds of different options to add display and input functionality to a Raspberry Pi. I did not want to save money in the wrong place and I also had a nice idea on how the final result would integrate with my kitchen setup. Therefore, I went for a 7 inch touch display, for which there are two main options available: The official Raspberry Pi touch display and the Waveshare display series. The former option comes with a nice display casing but requires a rather complicated and custom wiring setup to connect it with the Pi. The latter option uses standard HDMI and USB cables for transporting video, input and power but comes with a rather cheap look.
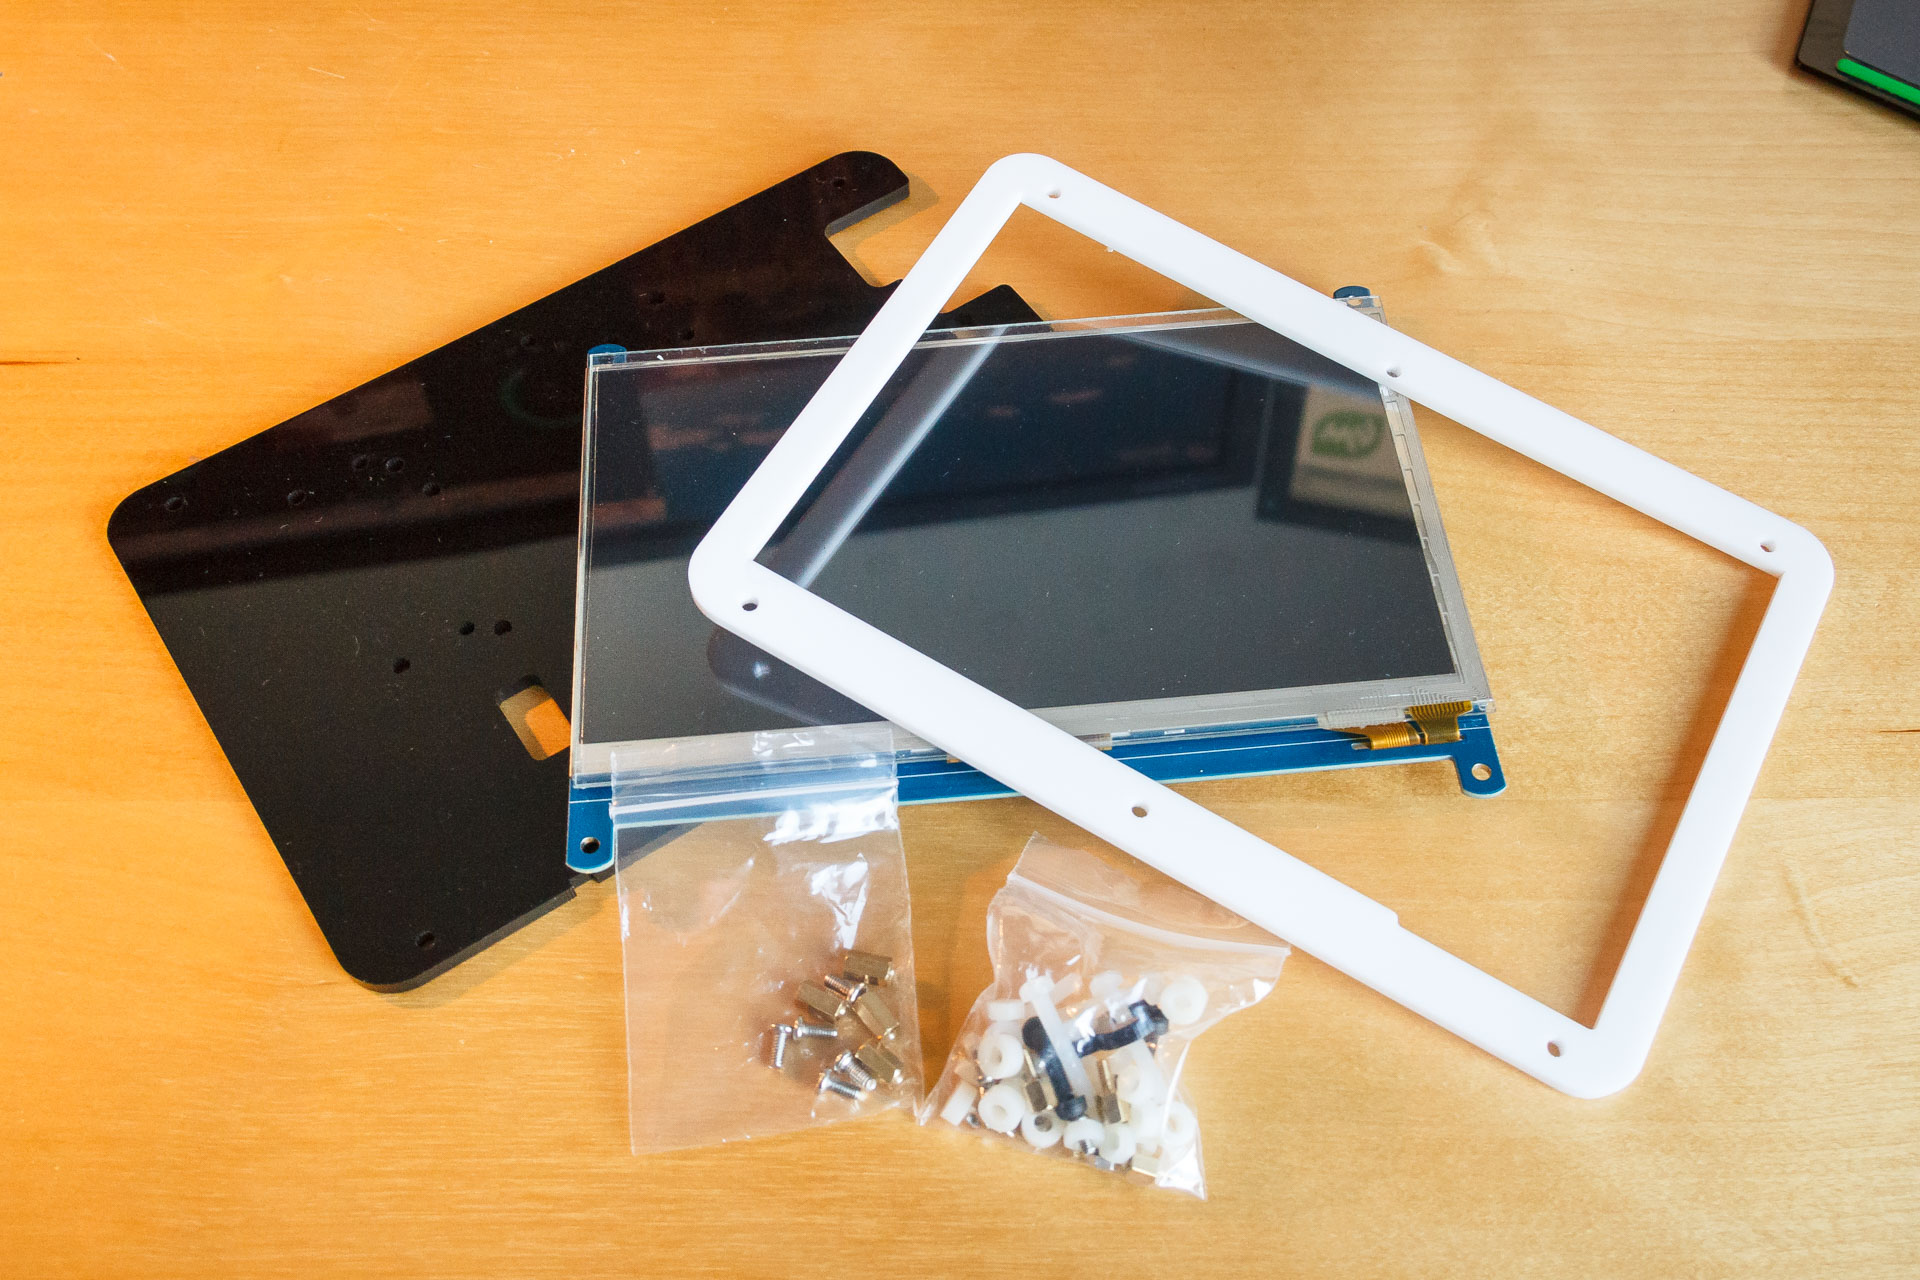
Eventually I decided to choose the Waveshare 7" HDMI LCD (C) together with the Waveshare Bicolor Case because I felt that an aesthetic wiring was more imporatant than an aesthetic case. The reviews on the Waveshare LCDs are mostly positive (make sure that you get the 2.1 revision of the display that comprises a higher quality LCD and exhibits a standard HID touch interface, i.e. no extra drivers needed).
Display Assembly
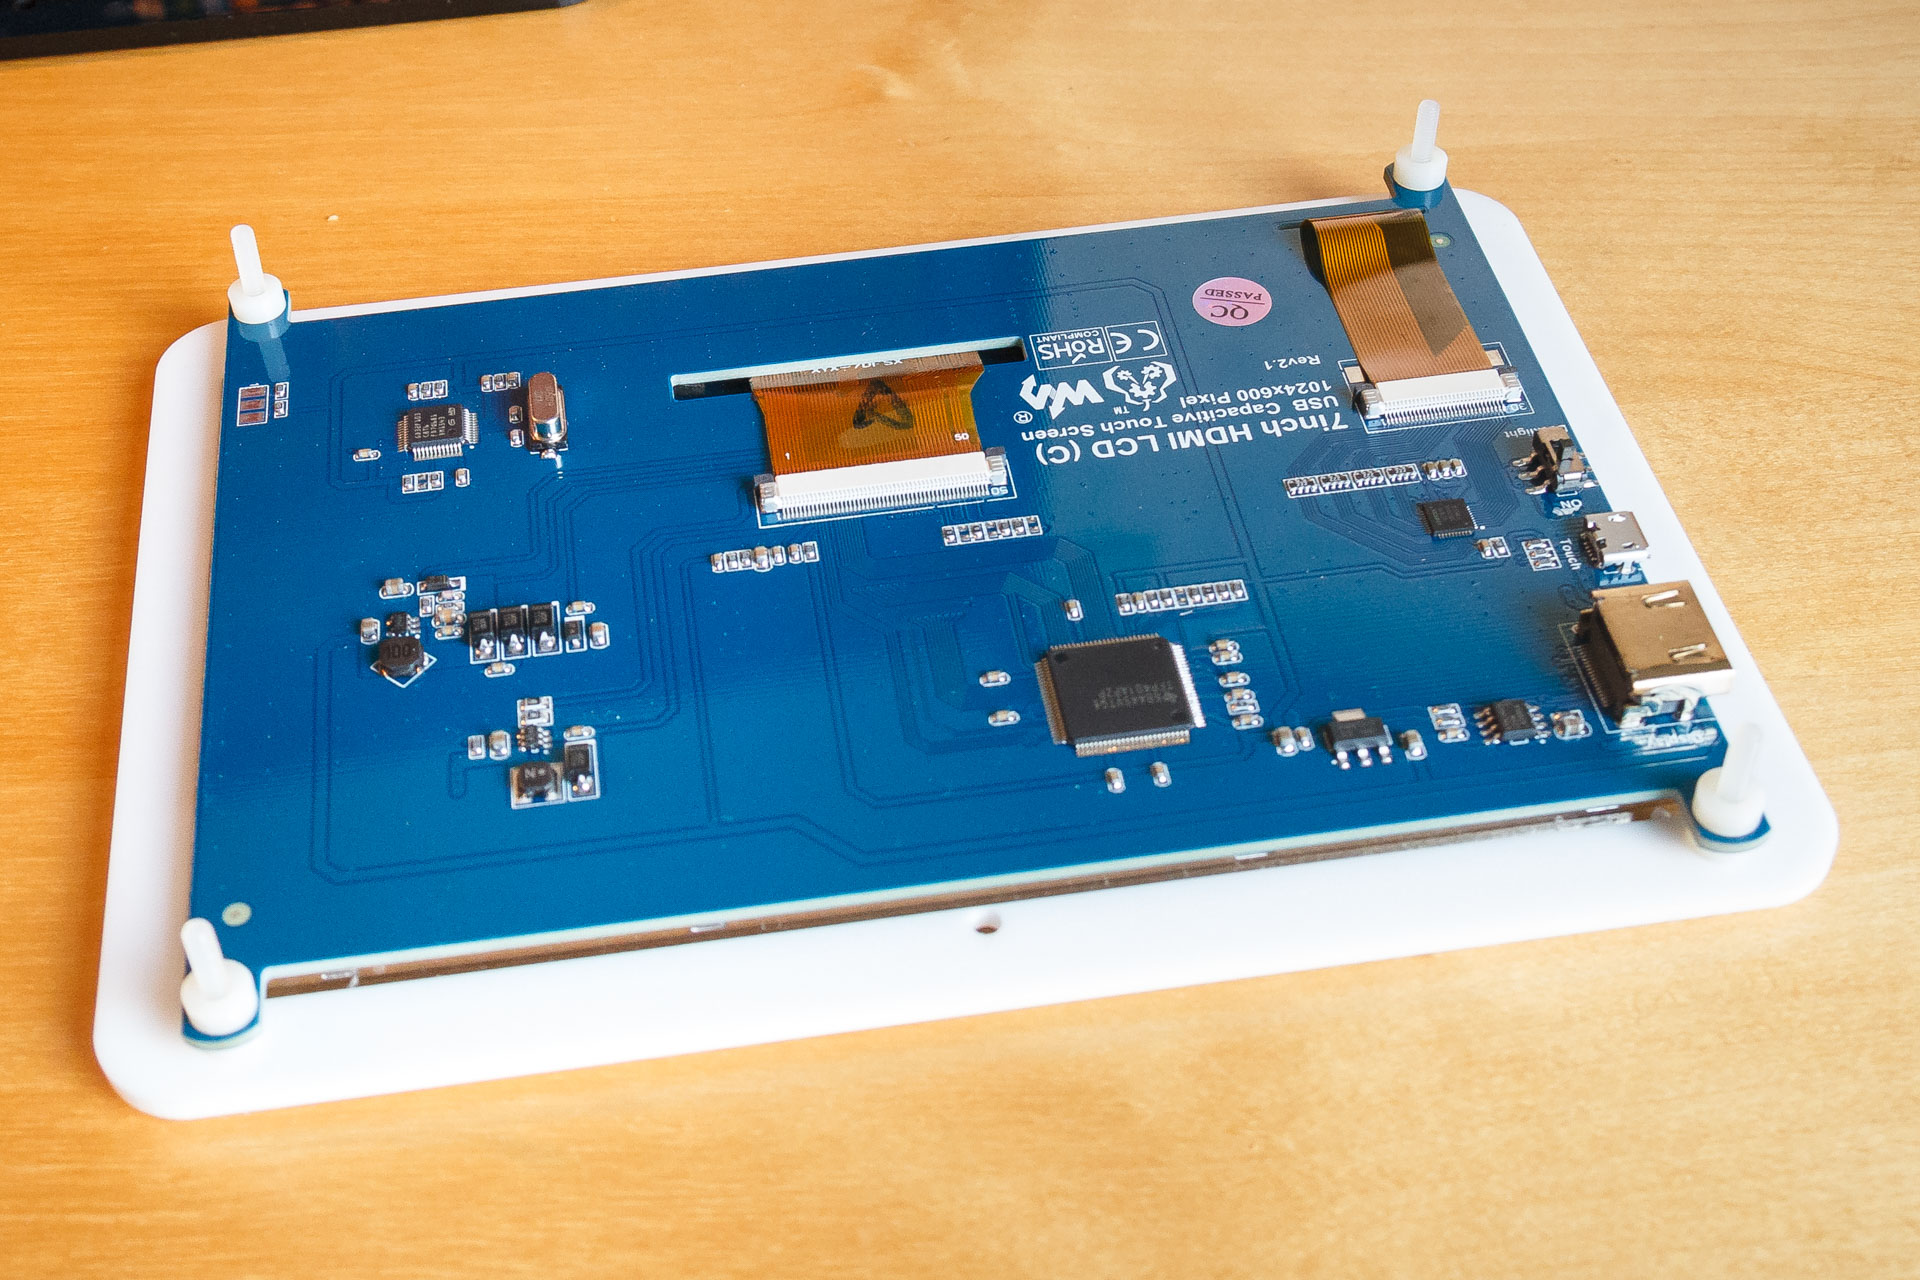
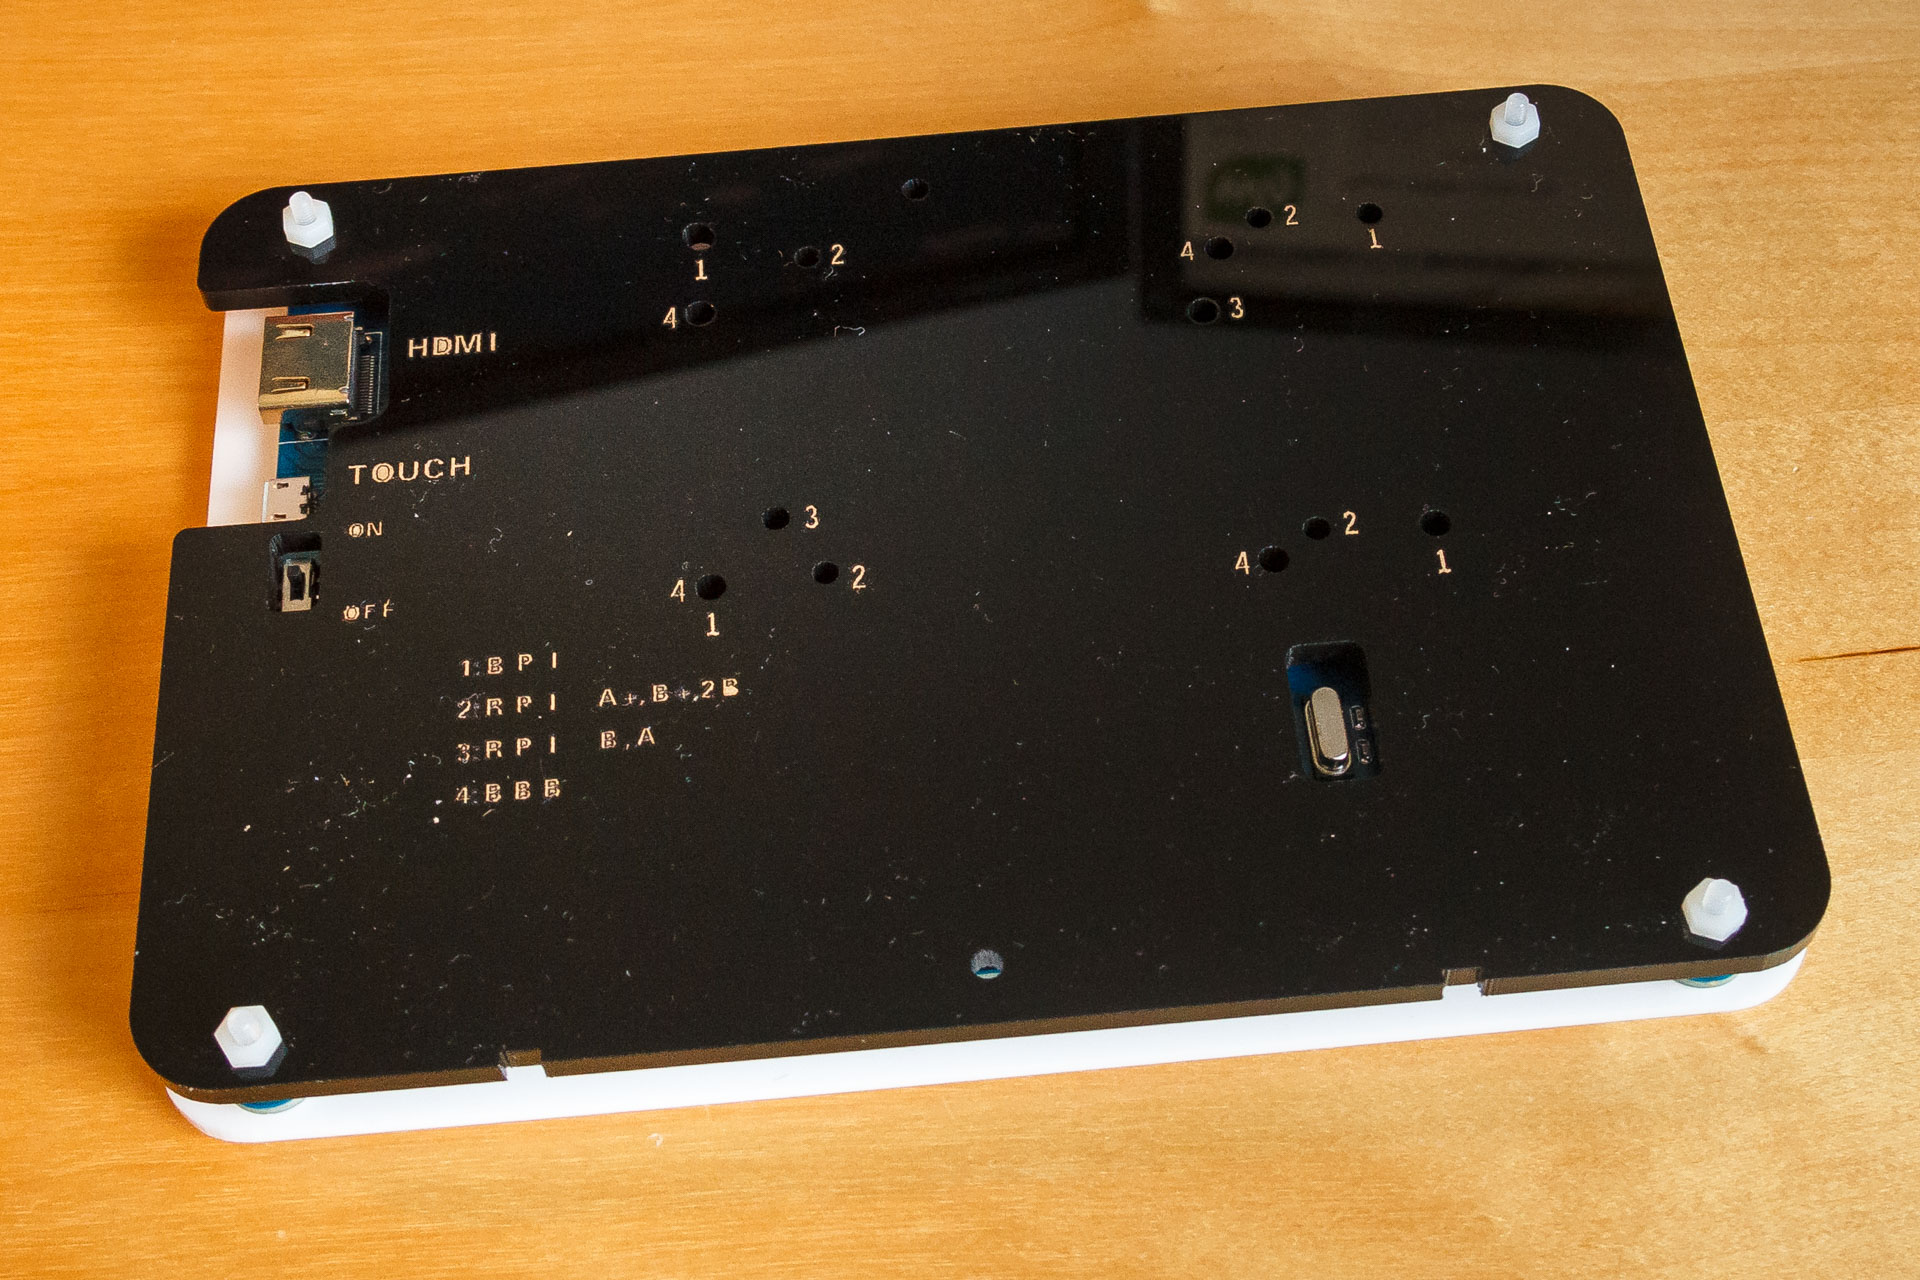
The assembly of the display display case turned out to be more complicated than expected. Waveshare does not provide any assembly manual - neither in the package nor online on their web site. Thus, I had to look at the indivdual parts and figure out how they belong together based on the available screws, nuts, spacers, and holes in the plastic parts. I ended up with mounting front cover - spacer - display board - spacer - back cover onto the provided long screws fixing them with a nut on the other side.
Waveshare Bicolor Case Assembly


Installing the Touch Display Plugin
Volumio provides an official Touch Display plugin that claims to be "optimized for the 7 inch Pi display". This is excellent but for me it required some manual work. During the installation routine it installs a package that requires user input for selecting the keyboard layout. Unfortunately, this can not be done through the web interface. Thus, keep a close look onto the detailed output during installation. If you end up with it asking you for user input do the following:
- Abort the installation process
- Log in to your Pi through SSH.
- Run
sudo dpkg --configure -ato restart the install package configuration process of dpkg. You can then configure the packe in the interactive interface. - Rerun the installation routine of the plugin that should now finish correctly.
Configure the config.txt according to the display manual (i.e. setup hdmi mode, resolution, etc.). After activating the plugin, your Pi should run a Chromium instance in kiosk mode showing the Volumio web interface.
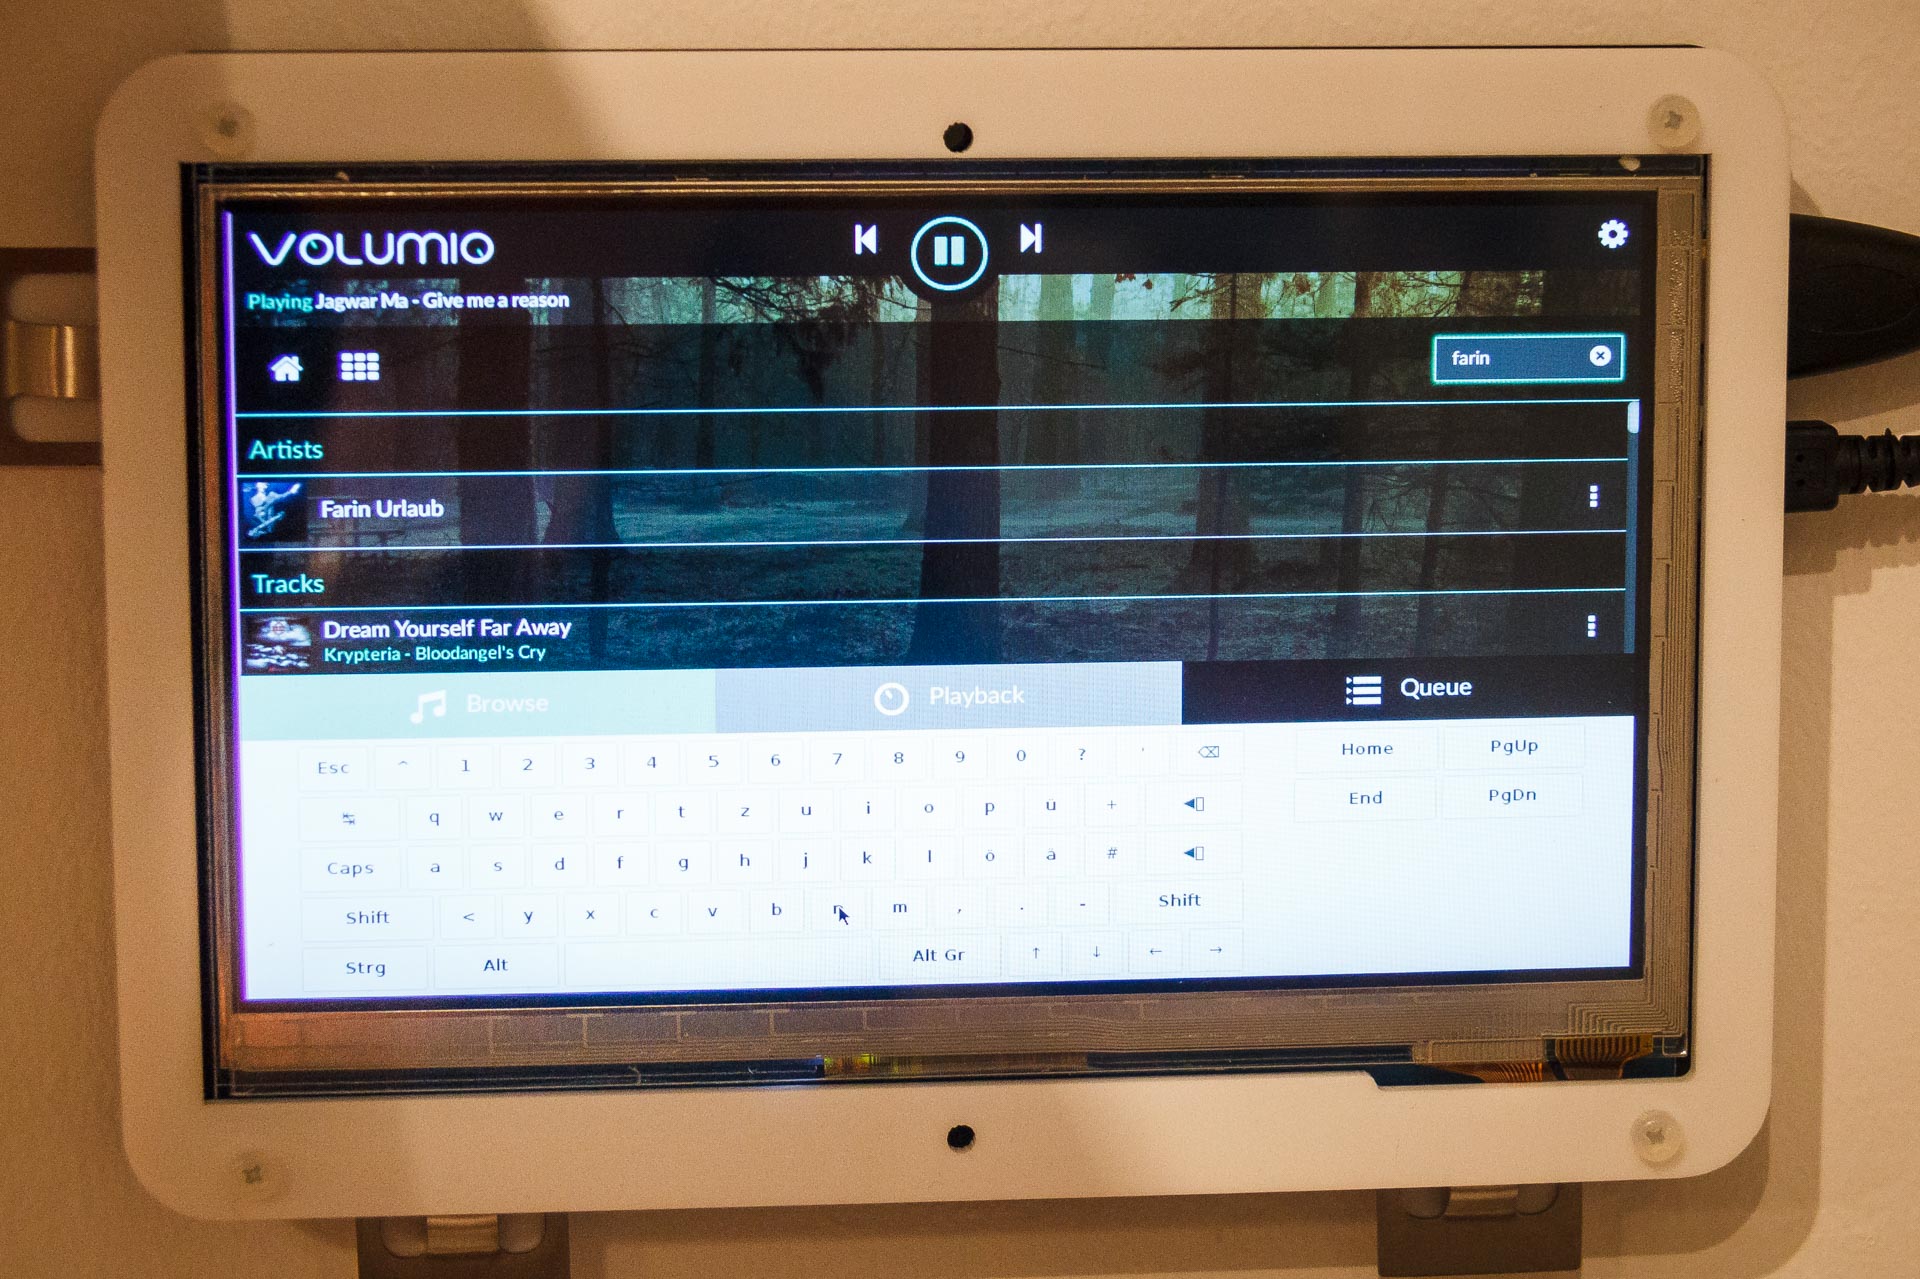
Adding an On-screen Keyboard
The pre-configured Openbox window manager of the plugin does not provide an on-screen keyboard. Thus, you cannot enter any text into the search field. I changed that by installing the matchbox window manager that provides this functionality out of the box.
First, install the necessary packages: sudo apt-get install matchbox-window-manager matchbox-keyboard. Then, edit the kiosk mode start script in /opt/volumiokiosk.sh and replace the openbox window manager with the matchbox one:
#!/bin/bash
xset +dpms
xset s blank
xset 0 0 120

matchbox-keyboard -d &
matchbox-window-manager -use_titlebar no &

while true; do
  /usr/bin/chromium-browser \
    --no-touch-pinch \
    --kiosk \
    --no-first-run \
    --disable-3d-apis \
    --disable-breakpad \
    --disable-crash-reporter \
    --disable-infobars \
    --disable-session-crashed-bubble \
    --disable-translate \
    --no-sandbox     http://localhost:3000
done
If you want a different keyboard layout, you can copy a custom keyboard.xml to /root/.matchbox/. The final result looks like this: